
Guide
How to Unpixelate a Screenshot
Last updated: September 17, 2026
Screenshots are the images we zoom into, re-save and forward the most — which is exactly why they pixelate first. Here are the five fixes that work, and when to use each.
Why screenshots get pixelated
A screenshot only holds as much detail as the screen had at the moment you captured it. Every way a screenshot loses detail traces back to one of these:
- Zooming before or after capture. Digital zoom stretches existing pixels rather than finding new ones — zoom into a screenshot and the blocks appear immediately, because that is all the detail there ever was.
- Screenshots of screenshots. Every re-capture flattens the image onto the new screen’s resolution and discards another layer of detail. Three forwards deep, a screenshot can be a fraction of its original sharpness.
- Recompression in transit. Chat apps and social platforms re-encode images that pass through them. Compression artefacts on a small source read as blur and blockiness.
- Small embedded sources. A thumbnail or a preview tile was never meant to be enlarged. Pulling it out of context cannot give it detail it does not have.
What a fix can reconstruct in a screenshot
An AI unpixelate tool reads the block boundaries and the texture around them, then estimates the edges, surfaces and text strokes that most plausibly filled the gaps. On screenshots this tends to work well because screens contain a lot of structure — straight UI edges, icons, letterforms — and structure is exactly what the model can estimate most reliably.
The honest boundary: the output is a reconstruction, not a recovery. Text edges may become more legible, but the result is an estimate and not a factual transcription of what the text said. Treat results the way you would treat a witness with good eyesight — useful, not infallible.
Fix 1: run it through an AI unpixelate tool
This is the fix for genuinely blocky screenshots, and the one this site is built for:
- Sign in with Google. 2 free credits on sign-up, no credit card required.
- Upload the screenshot. JPG, PNG or WEBP, up to 10 MB.
- Pick a mode. Quick returns 4MP for 1 credit; Standard returns 8MP for 2 credits; HD adds stronger detail reconstruction at the same 2 credits, available from the Pro plan.
- Compare and download. Most jobs finish in under a minute, and failed jobs do not use credits.
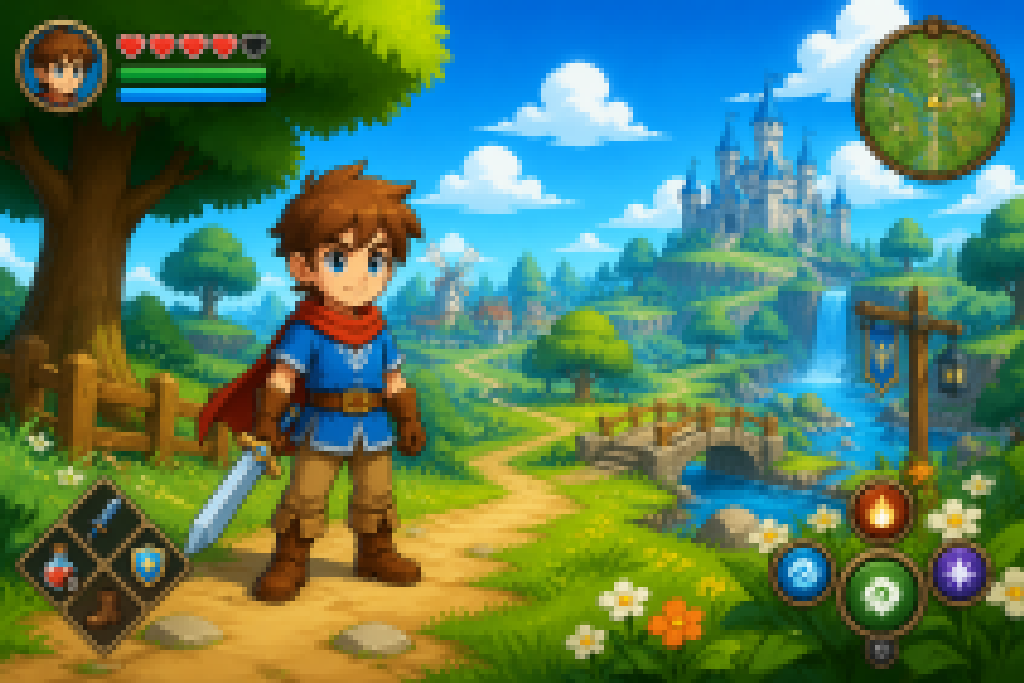 BeforeAfter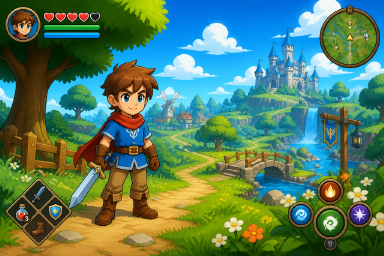
Drag the divider: the blocky half is the capture the model receives, the sharp half is its reconstruction — HUD elements, outlines and scenery all estimated from the surviving structure.
Fix 2: retake the screenshot properly
When the original is still available, retaking beats repairing every time — the cleanest source is the one with its detail intact:
- Capture at native resolution. Do not zoom in before you capture; zoom bakes the stretch into the file.
- Capture everything, crop afterwards. A full-screen capture cropped later keeps more real detail than a zoomed capture of the same region.
- Never screenshot a screenshot. If someone sent you the image, ask them for the original file instead of re-capturing it from the chat.
Fix 3: crop tight, then enhance
Results are delivered at a fixed output size — 4MP or 8MP depending on the mode. That size is spent on the whole image you upload, so the empty margins of a full-screen screenshot are eating pixels that should go to the part you care about. Cropping the screenshot down to the error message, the price tag or the face before uploading puts more of the reconstruction where you will actually look.
Fix 4: try the phone editor first — for mild cases
If the screenshot is only slightly soft, the free editor on your phone may be enough: in the iPhone Photos app or Google Photos, try Sharpen, Definition and a touch of Contrast. These raise local contrast, which helps lightly compressed text and edges.
Know the limit: sharpening filters cannot rebuild block structure. If you can see square blocks, skip ahead to Fix 1 — contrast alone will only make the blocks louder.
Fix 5: desktop AI software, for batches
If you are sitting on a folder of captures — a content archive, support ticket history, a game clip collection — standalone applications such as Topaz Gigapixel AI process them in batches on your own machine. The trade-offs are the licence cost, installation, and the same caveat that applies everywhere: the detail is estimated, so spot-check the results on your worst file before trusting the batch.
Which fix should you use
| Situation | Best fix | Why |
|---|---|---|
| A game or app screenshot with blocky edges | AI unpixelate tool | Reconstructs the blocky detail in under a minute |
| You can retake the screenshot right now | Retake it properly | The cleanest source always beats any repair |
| Only one region of a large screenshot matters | Crop tight, then enhance | Fixed output size puts more pixels on what you care about |
| Mild softness, no visible blocks | Phone editor | Free sharpening handles light cases in seconds |
| A whole folder of captures to fix | Desktop AI software | Batch processing beats one upload at a time |
Frequently asked questions
Can you unpixelate a screenshot?
Yes — screenshots are one of the most common cases. The model reconstructs blocky UI edges, text strokes and scenery from the structure that survives, as an estimate. Mildly pixelated screenshots improve the most.
Why do my screenshots look blurry after sending them?
Messaging apps compress images on send, so the copy your friend receives is a lower-quality re-encode of your screenshot. Send the file as a document or by email or cloud link to skip that step, and see our guide to pictures going blurry in transit.
Does upscaling a screenshot make the text readable?
It can improve the legibility of blocky text edges, and results vary. The output is an estimate, not a factual transcription — do not rely on it for information that matters.
How do I take a screenshot that will not pixelate later?
Capture at your display's native resolution without zooming first, crop afterwards instead of zooming in before you capture, and never take a screenshot of a screenshot — each pass discards detail.
Is it free to fix a screenshot here?
New accounts get 2 free credits, valid for 7 days, no credit card required. Quick processing returns 4MP for 1 credit; Standard and HD return 8MP for 2 credits. Failed jobs do not use credits.
More guides
- The screenshot is mostly text? See how to unblur text in an image.
- Fixing photos rather than captures? Start from how to unpixelate an image.
- Screenshots that went blurry after sending? That is compression in transit — see why pictures get blurry when sent.
- Want the tool’s own flow? The how it works page shows the three steps in detail.
- Only the words matter? The unpixelate text tool is tuned for screenshots of writing, and pixelate image hides details before you share.
Try it free — 2 credits on sign-up, no credit card required
unpixelate a screenshot free